November 17, 2026
Engraved plaque: wall-mounted, base, or free-standing, before engraving
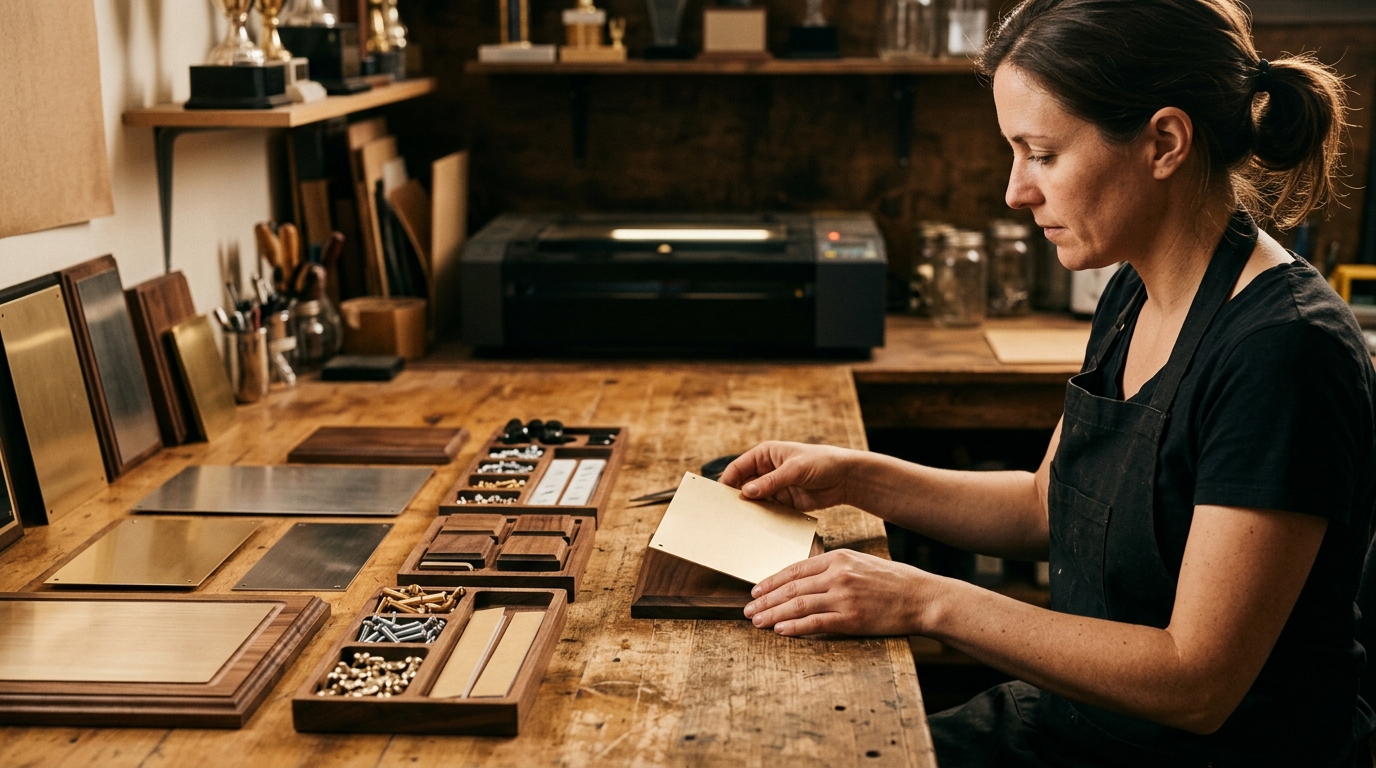
You've chosen the text, font, and format. But one decision remains that many discover too late: how will the plaque be mounted, and with what hardware? Yet this is precisely what determines the drill holes, standoffs, base, or post mount, and therefore the order and installation. Before starting the engraving of a custom engraved plaque, the mounting method must be finalized. Otherwise, an oversight could lead to re-drilling an already engraved plaque, with the risks of breakage or a poor finish that entails.
In this guide, we will clarify this step. First, you'll see why mounting is decided before engraving, followed by the three main categories: wall, base, and post mounts. We'll detail wall mounting with standoffs, adhesive, or screw-cover holes, choosing the right anchor based on the wall (masonry, drywall, wood), thresholds specific to post-mounted plaques, and base mounting. A decision-making table, mistakes that force re-drilling, the specifications to share, and an FAQ will help you order and install with peace of mind. In short: specify the mounting, then engrave.
Mounting: The Decision Forgotten Before Engraving
A custom engraved plaque order rarely arrives incomplete: the text is finalized, as is the format, the finish is selected, and the presentation date is set. Only one box remains unchecked: how will the plaque be installed?
Let's clarify a limitation right away: no standard or code requires deciding on mounting before engraving. This is time-tested workshop advice, not a strict regulation.
Yet this specification changes the entire order: the number and position of drill holes, the inclusion of standoffs, adding a base or post mount, and hardware that often needs to be planned separately.
The order of decisions matters. Re-drilling an already engraved plaque made of metal, acrylic, or glass exposes the finished piece to chipping, cracking, or breaking. Holes are drilled before engraving, never after.
This guide is intended for sports teams, businesses, municipalities, and organizations ordering a recognition plaque or custom engraved trophy plaque, often without prior wall-mounting experience. It all begins with a simple question: where and how will the plaque be installed?
Three Mounting Categories: Wall, Base, or Post Mount
Before choosing hardware, you need to decide on the mounting category. Three options cover most projects.
Wall mounting. The plaque is attached directly to a vertical surface. The hardware depends on the wall material and the weight of the piece.
Base mounting. The plaque rests on a base instead of being wall-hung. A bronze plaque can be installed on a simple base, a granite block, or another designated spot.
Post mounting. The plaque is supported by a stake or posts anchored into the ground. This choice comes with size and post-width requirements that alter the order.
The location dictates the choice: a gymnasium wall, entrance hall, exterior façade, municipal park, boardroom, or awards table each require a different solution.
One last overlooked point: fasteners are often separate items in signage suppliers' catalogues. Standoffs, screw covers in aluminum, stainless steel, or brass, suction cups: these line items must appear in the order. The wall mounting method is decided next.
Wall mounting: standoffs, adhesive, or holes with screw covers
Once the mounting style is determined, the specific wall mounting method still needs to be decided. Three common options.
Standoffs. Screwed into the back of the plaque, they create a gap between the plaque and the wall. This is the easiest method to remove, making it ideal for temporary or movable installations.
Adhesive. Reserved for lightweight plaques—acrylic or PVC—and perfectly smooth surfaces. Removal is difficult, with no guarantee of avoiding damage to the surface: virtually permanent use.
Holes, screws, and screw covers. The most common and secure method. Screws and covers are generally provided with the plaque. Durable and clean finish.
Critical point: the number and location of the drill holes must be known before engraving. Otherwise, the drill bit could pass through an already engraved area and ruin a custom engraved plaque. All that remains then is to verify that the hardware properly matches the intended wall.
Which anchor for which wall: masonry, hollow wall, or wood
The choice of wall fasteners depends not only on the plaque, but also on the receiving wall. Four scenarios cover most projects.
Masonry and concrete: threaded rods inserted into cement-filled holes serve as the benchmark fastener.
Hollow walls and drywall: these surfaces offer no direct grip; toggle bolts are designed for them.
Wood: when studs or panels permit, wood screws remain the most direct and economical fastener.
Stone masonry: an expansion anchor, such as a lead anchor, is suitable for this type of surface.
Practical take-away: identify the wall type before ordering. Otherwise, the delivered hardware won't match the surface and installation will grind to a halt on-site. Confirm this detail with the shop along with the dimensions.
Freestanding and post-mounted plaques: thresholds that change your order
While the wall dictates the anchoring for wall mounts, ground stakes shift the entire question to the floor. Specification sheets from a reference manufacturer show precise thresholds that alter the order.
Stake thickness: 5/16 of an inch (about 8 mm) for documented metal plaque mounts.
Maximum dimensions: 12 x 8 inches on a single stake, 20 x 8 inches on two stakes. Beyond 24 inches in width, the plaque requires two posts. The quote, shipping, and ground anchoring then change in nature.
Post width based on surface area: 1 inch up to 250 square inches, 1 1/2 inches up to 450 square inches, 2 inches up to 720 square inches.
Hypothetical example: a 30 x 12 inch engraved plaque (360 square inches) intended for an outdoor park calls for two 1 1/2 inch posts. Confirming dimensions, number of posts, and mount width before starting engraving prevents having to redo the entire job.
These thresholds come from a manufacturer; confirm them with the workshop.
Base mounting: the prestige plaque that doesn't go on the wall
Post mounts are suitable for parks or entrances; a base takes over when the plaque needs to be presented or displayed rather than hung.
The base is a foundation, not a mounting accessory. The plaque sits on it instead of being screwed into a wall, which changes the entire installation approach. Three common uses stand out: honorary plaques presented at ceremonies, engraved trophy plaques integrated into a set, and commemorative plaques installed outdoors.
For bronze plaques, installation can be done on a simple base, a granite stone, or another designated location, depending on the specialized supplier.
This modifies the order: base dimensions, seating surface, potential engraving on the base itself, and coordination between the plaque and its mount.
The exact base and hardware options must be confirmed with the workshop, which will advise based on the selected dimensions and material. The trophy, medal, and plaque catalogue gives an overview of formats before finalizing the specifications.
Decision-making guide based on use and location
Whether a base is selected or ruled out, here is a summary of the other mounting options. The choice depends on two factors: the nature of the surface and the intended duration of installation.
Mounting type
Key advantages
Limitations and ideal contexts
Double-sided adhesive
No drilling required, immediate installation
Requires a smooth surface and lightweight plaque; difficult to remove
Hole with screw caps
Sturdy hold, clean finish
Requires drilling into the wall; plaque flush against the surface
Standoffs
Stands off the wall, easy removal
Requires drilling; separate hardware to order
Base or post mount
Prestige look, suitable for exposed outdoor environments
Dimensions, posts, and anchoring to be confirmed
Simple rules
Smooth surface and lightweight plaque (Plexiglas, PVC): adhesive is a viable option.
Long-term use on a standard wall: screw caps with drilled holes are best.
Need to remove the plaque easily: standoffs are essential.
Exposed outdoor location, honorary or presentation plaque: bases or post mounts replace wall mounting.
Callout box for predetermined dimensions. 1 in. post width up to 250 sq. in., 1 1/2 in. up to 450 sq. in., 2 in. up to 720 sq. in. Beyond 24 in. in width, two posts are required.
No mounting option is universal; the only bad choice is the one that was left unspecified.
Mistakes that lead to re-drilling an already engraved plaque
Once the mounting family is decided, costly mistakes tend to happen in the order of operations.
Engraving before knowing the installation location. Mounting then has to be improvised on an already finished piece.
Reusing hardware from a previous order without checking the wall type. An anchor designed for a solid wall will not hold in a hollow wall. For loads of 10 to 30 kg, the SNIP advisory sheet recommends toggle bolts or expansion anchors suited to the thickness of the wall panel.
Forgetting to order screw covers separately. Yet, they are essential to the final look of the wall mount.
Drilling too close to the engraved text or in an unreinforced area. The design gets damaged and the piece is weakened.
Applying adhesive to a rough, dusty, or freshly painted surface. Peeling, difficult removal, and sometimes damage to the surface.
These five mistakes share a single cause: specifications finalized too late.
Submitting mounting specifications with your engraving request
To avoid do-overs, attach a mounting specification sheet to your engraving request.
Please specify:
the mounting type (wall, base, stand);
exact dimensions;
the type of wall or floor;
the number and location of drill holes;
the desired hardware;
indoor or outdoor use;
whether eventual removal is planned.
Make sure the drill holes align with the engraved layout: margins, decorative borders, logo, or ceremony date. Finalize the mounting details at the same time as the text and format so everything goes into production at once.
For teams, businesses, municipalities, and organizations, a photo of the target wall reduces back-and-forth communication. To frame your project, browse Our 21 services, compare Our 21 services, and check the formats presented in Our 21 services.
The shop in Léry, Quebec, offers bilingual service and a best-price guarantee at 514-565-6665. Confirm hardware dimensions, drilling policies, and standoff or base options directly with the shop, as no public source documents them.
Frequently asked questions about mounting an engraved plaque
Once the specifications are submitted, four questions frequently come up at the shop.
Can a custom engraved plaque be mounted without drilling into the wall? Yes, using adhesive on a clean, smooth surface. This method is suitable for lightweight Plexiglas or PVC plaques; however, removal remains difficult and may mark the surface.
Are standoffs necessary outdoors? They create space between the plaque and the backing surface and make dismantling easier. Depending on the location, this gap is an advantage (water, dust drainage) or a constraint (unintended removal).
How many posts are needed for a large plaque? A plaque over 24 inches wide requires two posts. The width of the post depends on the surface area of the plaque.
Does the base need to be decided before engraving? Yes, if the plaque is screwed onto it or if the base itself features an inscription: both components are produced together.
In summary: specify the mounting, then engrave
Once these questions are settled, the key is following a specific order: location first, followed by the mounting style, wall attachment method, hardware, and only then the engraving.
Quick guide: standoffs for a plaque you want to be able to remove; adhesive for a small, lightweight plaque on a smooth surface; drilled holes and screw covers for long-lasting use; base or post support for prestige and outdoor use.
Check the size thresholds before finalizing dimensions: two posts for widths over 24 inches, post width adapted to the surface, and a 5/16-inch stake.
Submit the specifications along with the text to be engraved, a photo of the wall, and the list of desired hardware. To discover our 21 services, check out our catalogue; the about section introduces our workshop.
To confirm the mounting, hole drilling, and base or post support options, contact the Léry workshop at 514-565-6665 before giving the green light for engraving.
Conclusion
Mounting is not a final detail at the end of a project: it dictates the engraving, dimensions, and hardware. Remember to first choose the location, then the mounting style—wall-mounted, base, or post support. Next, the wall attachment method depends on the wall itself, and thresholds such as using two posts for widths over 24 inches must be validated before finalizing the plaque. Finally, providing complete specifications prevents having to re-drill an already engraved plaque.
To get started, gather the engraving text, a photo of the wall, and the list of desired hardware. Contact the Léry workshop at 514-565-6665 to validate the mounting, hole drilling, and base or post support options before giving the green light for engraving. Your plaque will thus be designed to last, right from the first hole.
You may also like
What to Write on a Trophy or Plaque: A Guide to Error-Free Engraved Text
A typo on a plaque always gets noticed on awards night. Here is how to write, structure and proofread the engraved text on your custom trophies, medals and plaques.
Custom Engraved Lamicoid Plaque, Chosen with Care
Choose a durable, easy-to-read custom engraved lamicoid plate: materials, formats, engraving and tips for your premises, equipment and projects.
Laser Engraving vs CNC Engraving, Which One Should You Choose?
Laser engraving vs CNC engraving: compare precision, materials, relief and turnaround times to choose the right technique for your trophies, plaques and signs.