2 novembre 2026
Plaques for Building Dedications and Donor Walls: Specifying Text, Size, and Mounting
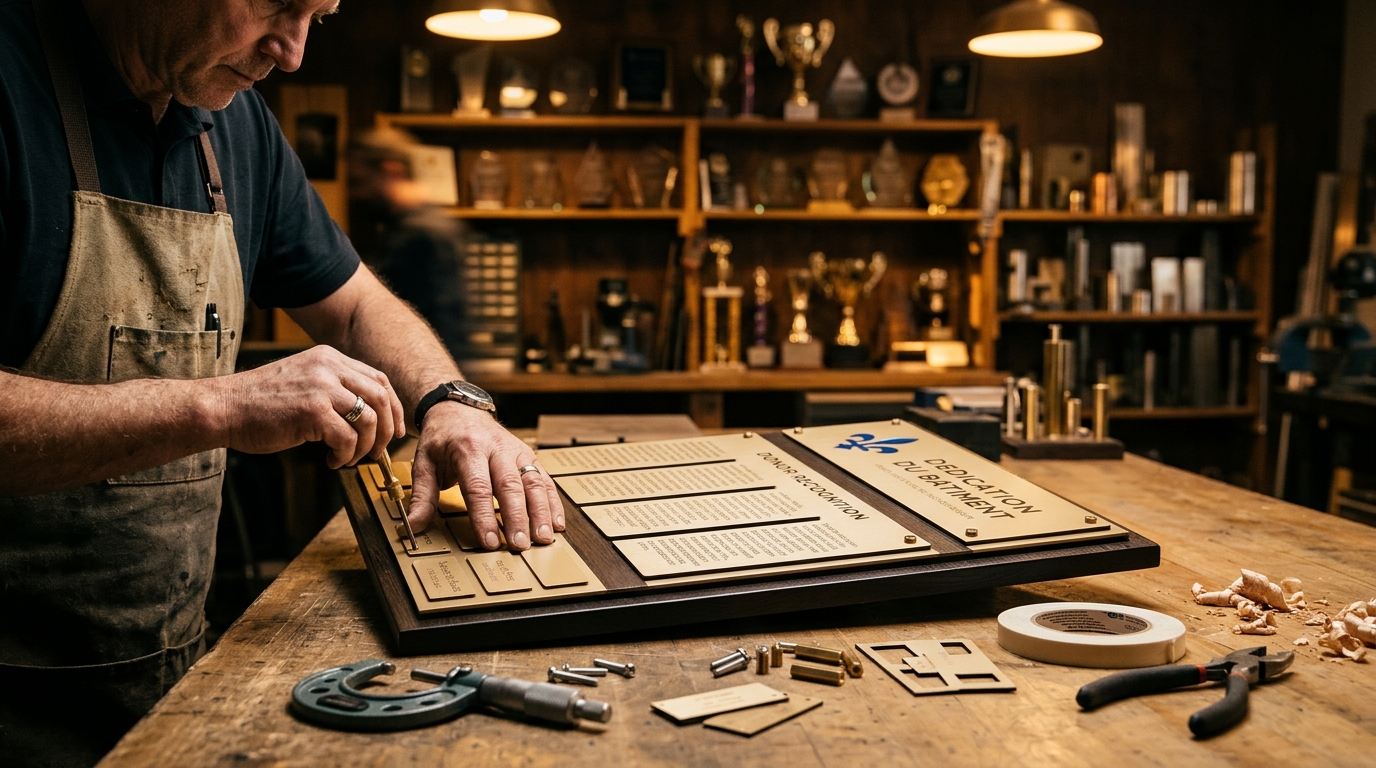
A donor wall is not a design exercise. It is a specification problem with a deadline. By the time a plaque is cast or engraved, every choice about plate size, line breaks, bilingual ordering, character height, material, finish, and mounting hardware has already been locked. Change one after approval and you pay twice: once in budget, once in credibility. That is why dedication and donor-wall plaques fail on specification, not taste.
This guide walks intermediate buyers through the decisions that matter before production begins. You will confirm language and bilingual requirements, specify copy and line breaks, set plate size for actual viewing distance, pair material and engraving method, select mounting hardware after checking the wall substrate, and lay out a donor wall that can grow. You will also learn how dedication plaques share a process with custom awards, how to proof a file with a named signer, and what to settle before requesting a quote. If you are in Quebec, Bill 96 adds another layer: French signage rules may apply, so verify plaque treatment with the OQLF. Fill out the spec sheet first. The plaque should still read correctly in twenty years.
Why Dedication and Donor-Wall Plaques Fail on Specification, Not Taste
Dedication plaques fail on specification, not taste. Aesthetic disputes over font, border style, or colour are reversible: change the layout, re-approve, and nothing has been cut. Specification failures are not. A plate too small for the copy, a name broken across lines, a missing French version, or mounting holes that do not match the wall substrate surface only after casting or engraving.
The cost is permanently asymmetric. An engraved plaque cannot be edited. Rework means a full replacement order, a second trip through procurement or council approval, and a mismatched patch on a finished wall.
The buyer who completes a spec sheet before production gets a plaque that still reads correctly in twenty years, whether or not the person who approved it is still in the role.
This guide locks down seven decisions: language requirements, copy and line breaks, plate size and character height, material, finish, and engraving method, mounting hardware and wall substrate, donor-wall layout, and proof sign-off. It addresses permanent wall-mounted institutional recognition, not handheld awards, though the production process overlaps for buyers sourcing both.
Step 1: Confirm Language and Bilingual Requirements Before Any Copy Is Written
French spelling and accents cannot be retrofitted after engraving, so language requirements come first.
The Regulatory Gate
Bill 96, in force since June 1, 2022, modifies the Charter of the French language and applies to businesses active in Quebec. Language ordering on a public-facing plaque is therefore a legal question before it is a layout question. Publicly available sources do not resolve whether commemorative plaques count as public signage under the Charter, so confirm with the OQLF before production rather than assuming either way.
Rules for Municipal and Institutional Buyers
Since June 1, 2023, the civil administration must provide services exclusively in French unless authorized otherwise, and the Charter requires it to use only French on signage and communications. For other public signage, French must be markedly predominant, with stricter rules for signs visible from outside. Note that the rule about translations not outshining French text governs products and packaging, not plaques; do not carry it over as plaque law.
Decide Ordering Now, Record It
Choose one format and apply it to every plate in the project:
French first, English as a subordinate block beneath
Parallel two columns for donor lists
French-only for civil-administration walls
Inconsistency across a donor wall or renaming project reads as an error.
This section is a verification prompt, not a compliance guarantee. Route final wording and ordering to the client's own legal or OQLF contact, and have the workshop cut only from approved text.
Step 2: Specify the Copy and the Line Breaks, Not Just the Words
With language ordering settled, type the plaque copy line by line in a plain document, and count characters including spaces before ordering. Production begins from approved text; a line that reflows during engraving means a new plate.
Fix the naming convention first:
Names: full legal name or common name, consistent honorifics and degrees, correct French accents and capitalization, including accents on capital letters.
Dates: one format, for example 3 mai 2026 or May 3, 2026.
Organizations: state whether the name is translated or kept as-is.
Set hard line-break rules: never split a person's name across two lines, never break an English phrase mid-line on a bilingual plate, and keep French and English blocks parallel in line count so the plate reads symmetrically.
Decide the hierarchy explicitly: line 1 the honoree or building, line 2 the occasion, line 3 the date, line 4 the commissioning body, with a size or weight change between each level.
Set punctuation policy, and decide whether a discreet donor reference, project number, or foundation name belongs on the plate for future audits and inventory.
Step 3: Set Plate Size and Character Height for the Actual Viewing Distance
With copy and line breaks fixed, size the plate from the reading position, not from a catalogue standard. A lobby plaque read at arm's length, one at three metres in a corridor, and one mounted ten metres above an entrance cannot share a character height. Set the primary line's height first, then derive the secondary lines from it, leaving measurable margins so the layout does not crowd and a backer plate or mounting frame still fits.
Size for the longest line, not the shortest, and specify a border or backer plate if the copy must match adjacent signage in thickness or height. Inspect the installation point for lighting: shadowed alcoves, glazed entries with daytime glare, and exterior walls facing winter sun all argue for larger characters and stronger contrast.
Confirm final dimensions in millimetres against the wall space actually available, including clearance from doors, handrails, and light switches, before the work order is signed.
Step 4: Choose Material, Finish, and Engraving Method Together
Material, finish, and contrast mechanism are one decision, not three. Interiors and covered entries tolerate a broad range of finishes. Exposed exterior walls are driven by moisture, freeze-thaw cycles, and de-icing salt, so specify a finish that sheds water and resists salt rather than one chosen only for tone.
Decide the contrast mechanism with the material: engraved colour fill in a recessed cut, contrasting metal apposition, or colour printing on a prepped surface, each with a different look and long-term wear pattern.
State laser engraving or colour printing on the spec sheet instead of accepting a workshop default, since the same plate yields different results. Choose the finish with maintenance in mind: how it will be cleaned, what will touch it, and whether it will show fingerprints or water spotting where it sits.
Beside existing signage, verify a finish sample against the installed plaques. A dedication plate in a visibly different tone reads as an error regardless of quality. Mr Trophée's Nos 21 services cover laser engraving and colour printing, with workshop details under Nos 21 services.
Step 5: Select Mounting Hardware After Confirming the Wall Substrate
Finish settled, the last on-paper decision is how the plate attaches.
Identify the wall substrate before ordering hardware. Brick, poured concrete, drywall, stone veneer, wood panelling, and glazed tile each require different anchors, and masonry anchors must be qualified for the base material rather than improvised on site. Drilling a finished lobby wall is not an installation-day decision.
Choose the mount deliberately: flush with concealed fasteners for a clean face, standoff for a shadow-line reveal, or a backing plate or rail system where plates may be added or removed for refinishing.
Check where the holes land relative to the copy; a fastener over a line of text reads as a defect. Confirm every fastener is reachable for re-tightening without scaffolding.
Weigh security against removability: through-bolts and tamper-resistant fasteners for public exterior walls, rails for donor walls that grow over years.
Finally, require the workshop and installer to agree on one hole pattern, then record it and the hardware on the spec sheet so future additions match exactly.
Step 6: Lay Out a Donor Wall That Can Still Accommodate Next Year's Donors
With hardware and hole patterns fixed, the wall itself becomes a system. Set the plate module first: one standard size and shape repeated across every giving level, with finish or a size step reserved as the level indicator, so the wall reads as one installation rather than a collection.
Run the arithmetic before the first plate is cut. Column count, gap, and usable height set capacity; a hypothetical 12-column grid with 40 mm gaps on a 2.4 m wall holds only so many names, and hitting that limit after installation forces an expensive redesign. Reserve capacity deliberately with a defined expansion zone or phase-two area, and state in the spec sheet what happens when the grid is full.
Fix the ordering rule once: alphabetical, by giving level, or by gift date, plus consistent treatment of couples, corporations, anonymous and in-memory gifts. Keep audit detail off the wall but in the record: donor list version, approval date, and the engraving file, so later additions are typeset from the same source. That file then feeds the final proof.
Step 7: Proof the File and Name the Person Who Signs Off
With the grid and expansion rule settled, lock the language before anything is cut. Demand a proof in the production format: the actual layout file, not a retyped email summary. Check text, line breaks, accents, dates, and French-English ordering there.
Name one accountable signer. Committee orders drift when late corrections arrive from people who never saw the proof, so record written approval with a date.
Run a dedicated French character check. Confirm the file carries proper accented characters, not approximations, before the plate is processed.
Verify dimensions, hole positions, and hardware against the physical wall one last time, then freeze the specification. After sign-off, nothing changes.
Where Dedication Plaques Share a Process With Custom Awards
Once the specification is frozen, the same file often does double duty. When an institution is also ordering custom awards or custom awards trophies for an unveiling ceremony, the paperwork for both is nearly identical.
The requirements are the ones this guide has locked down: an approved bilingual or French-language file, fixed line breaks, a stated material and finish, and a signed proof before production starts. The engraving step is what turns an approved file into a finished recognition piece.
One specification file for both orders keeps the donor wall and the ceremony awards identical in naming, accents, and capitalization, which matters when the same names appear on both. See Nos 21 services and nos réalisations.
Tips for a Plaque That Still Reads Correctly in Twenty Years
Durability is decided at the copy stage, not the polishing stage. Five habits separate a plaque that still reads in twenty years from one that needs replacing.
Word the copy for an unknown reader. Avoid "current" or "new"; name the date explicitly ("Installed 2026") so anyone can place it without context. Refer to roles, departments, or building names unlikely to be renamed, and spell out acronyms only current staff recognize.
Keep the permanent record off the wall. Store the approved text file, layout proof, dimensions, hole pattern, and hardware type with the project file. A future addition or replacement then becomes a reprint instead of a redesign.
Decide the patina policy in advance. State whether the finish is to be restored or allowed to age, and give maintenance staff the gentlest cleaning method that works, so nobody guesses in ten years.
Order one spare plate cut from the same file when the layout is modular. Matching a finish and font from memory years later is far harder than storing a spare.
Those records feed your next quote.
The Spec Sheet Handoff: What to Have Settled Before You Request a Quote
Before you request a quote, lock the seven decisions into one document: language and ordering (OQLF-confirmed where applicable), final copy with line breaks, plate dimensions and character height, material, finish, and engraving or printing method, mounting hardware and wall substrate, donor-wall module and expansion rule, and one named sign-off.
Put that document inside the purchase request itself. Quotes then compare like for like on specification rather than presentation, which is the only way to judge price honestly.
Keep legal verification and production separate. The client confirms the language requirements; the workshop cuts exactly the approved text and nothing else.
For a Quebec order covering a dedication plaque, a donor wall, or matching custom awards, Mr Trophée in Léry can quote the full package at 514-565-6665. Review Nos 21 services before you finalize.
Conclusion
Dedication plaques and donor walls succeed or fail on specification, not taste. Confirm language and final copy first, including line breaks. Set plate size and character height for the real viewing distance. Choose material, finish, and engraving method together, then match mounting hardware to the wall substrate. Build donor-wall modules with room for next year's names, and keep one named sign-off with a spare plate and cleaning notes so the plaque still reads correctly decades later.
Your next step is simple: turn those decisions into one spec sheet before requesting a quote. For a Quebec project, call Mr Trophée in Léry at 514-565-6665 and review Nos 21 services before you finalize.
À lire aussi
Cadeau de départ à la retraite : plaques et trophées gravés pour souligner une carrière
Une retraite mérite un souvenir à la hauteur d'une carrière. Voici comment choisir, rédiger et commander une plaque ou un trophée gravé qui touchera vraiment la personne honorée.
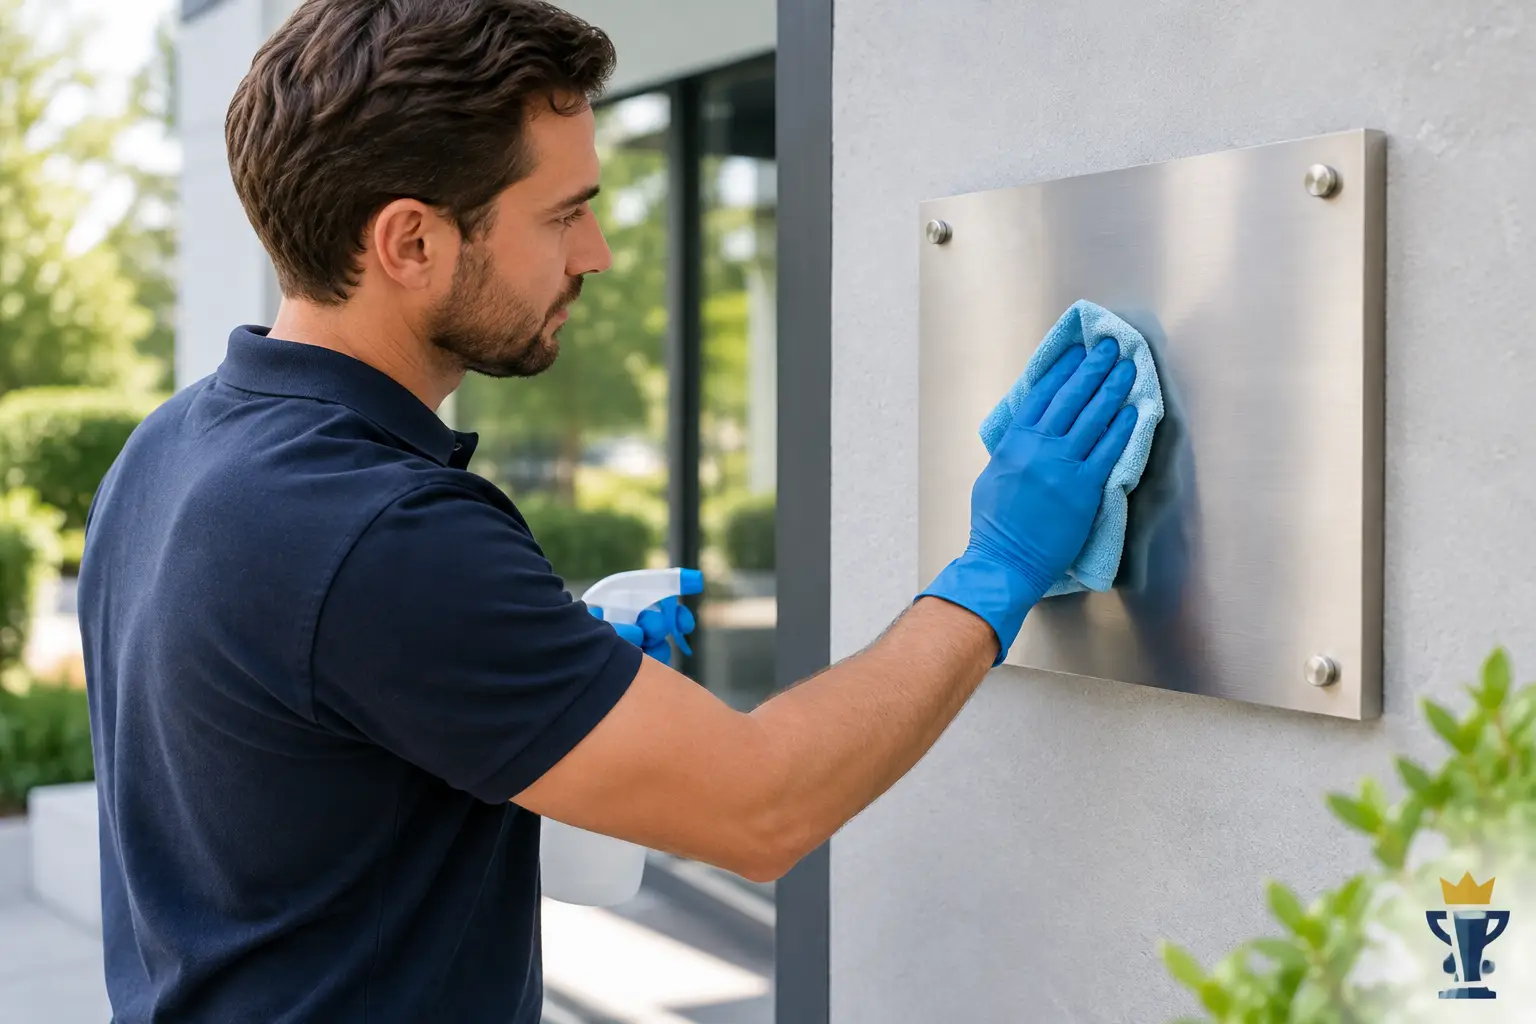
Guide d’entretien des plaques extérieures
Guide entretien plaques extérieures pour préserver lisibilité, finition et fixation de vos enseignes, plaques gravées et vos repères au fil des saisons.

Graveuses laser pour prix, plaques et objets
Choisir des graveuses laser pour personnaliser trophées, plaques, cadeaux et signalisation avec une finition précise et durable, selon chaque matériau.